This tutorial shows you how to create a Bitcoin Point of Sale and accept BTC payments (on-chain and via the Lightning Network). When you complete it, hopefully, you'll have a web-based PoS that requires no additional hardware. It will run as a web app from a browser of your mobile phone or tablet.
Most importantly, there will be no fees or intermediary. Customers will be presented with an invoice they have to pay from their wallet. The BTC you receive will go straight to your wallet. Optionally, you can enable tips and customize the percentage as well as the overall appearance of the PoS.
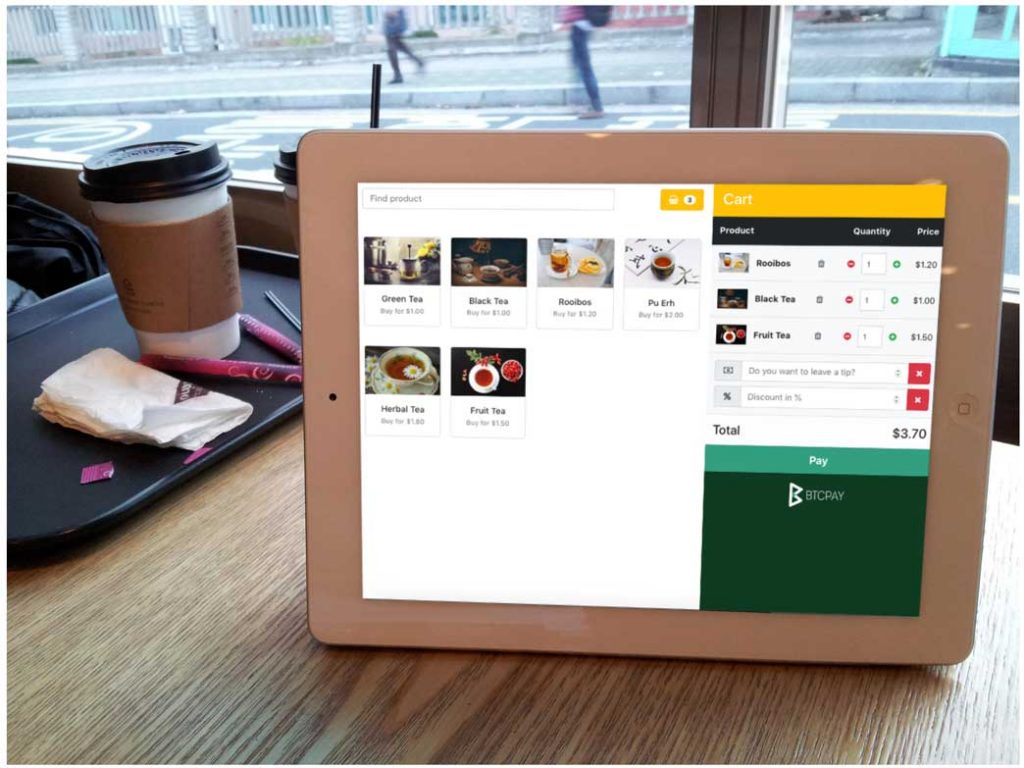
BTCPay Point Of Sale - a web-based app that allows you to receive Bitcoin payments with no intermediary or fees, from any old tablet or phone:
# Requirements
Before we dive into the guide, here are some requirements:
- BTCPay Server (opens new window) (self-hosted or hosted by a third-party)
- Phone or a tablet, PC (Digital display)
- Internet connection
# Steps
- Deploy BTCPay Server
- Configure BTCPay (Register User, Create Store, Add Wallet)
- Create a PoS app
- Add PoS as to a home screen of your tablet or phone
# Step 1 - Deploying BTCPay
BTCPay Server is a free and open-source cryptocurrency payment processor (Hey, you're reading our blog!).
You've heard of WordPress, the Content Management System that allows people to build sites with ease.
BTCPay is a WordPress of finance. It allows you to become your own bank or payment processor with a complete self-hosted technology stack. It's free and the entire source code can be found on GitHub (opens new window).
There are many ways in which one can deploy BTCPay. I recommend that you check out extensive deployment documentation (opens new window).
Besides self-hosting, you can use someone else's server. That's called third-party hosting (opens new window). Majority of community members allow people to use their servers for free. Make sure to understand risks that trusting a third-party brings.
Make sure to read our third-party documentation to understand why chose one over the other. Third-party servers come with some limitations, but you can use them for testing purposes.
To deploy a self-hosted BTCPay you can follow a tutorial below.
If you don't want to invest time and efforts into self-hosting a server at this point, you can just hop on to our demo server (opens new window) and go to step 2.
# Step 2 - Registering, creating a store, connecting a wallet
No matter if you decided to go with a self-hosted, a third-party host or our demo server, the rest of the setup is the same for all.
# 2.1 - Creating an account
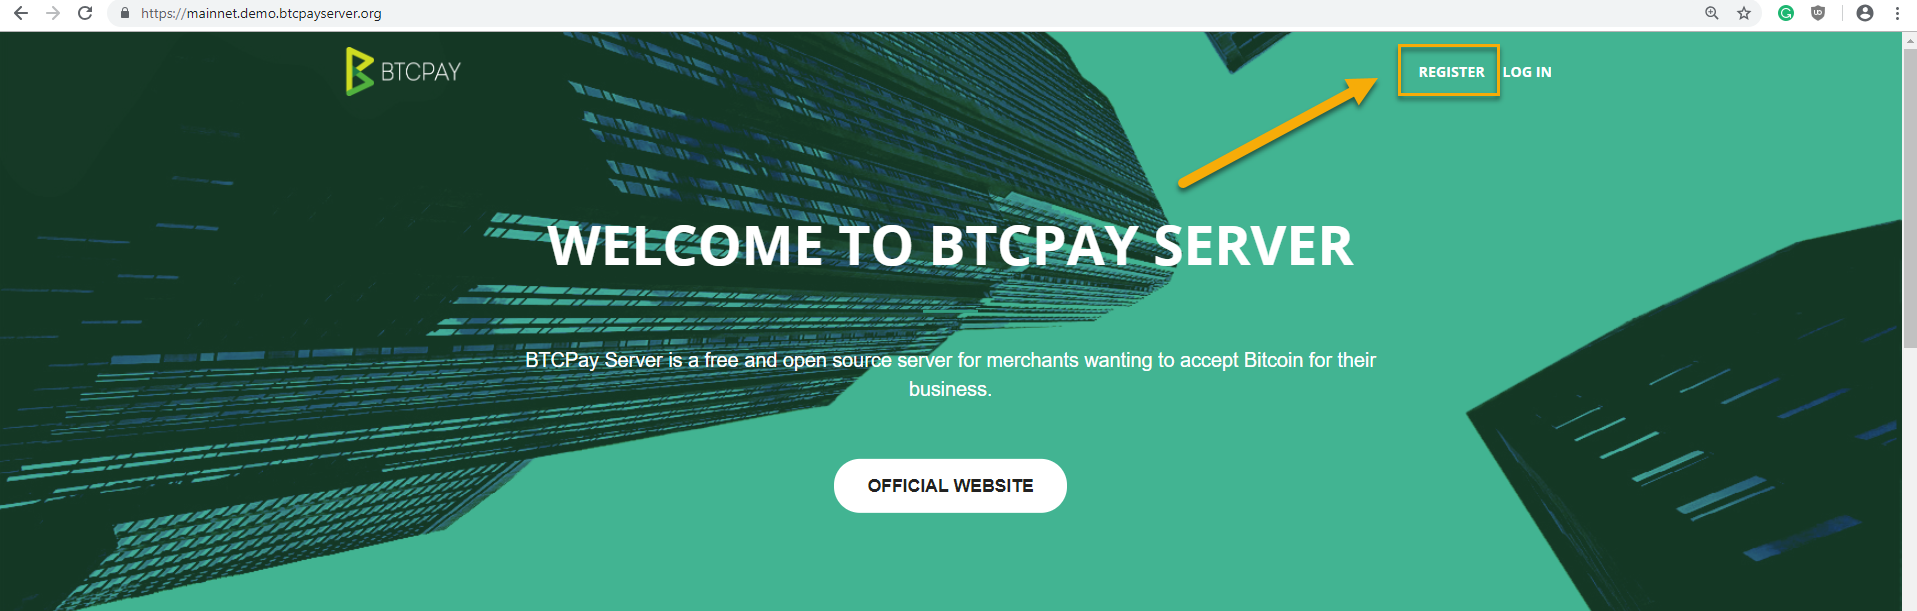
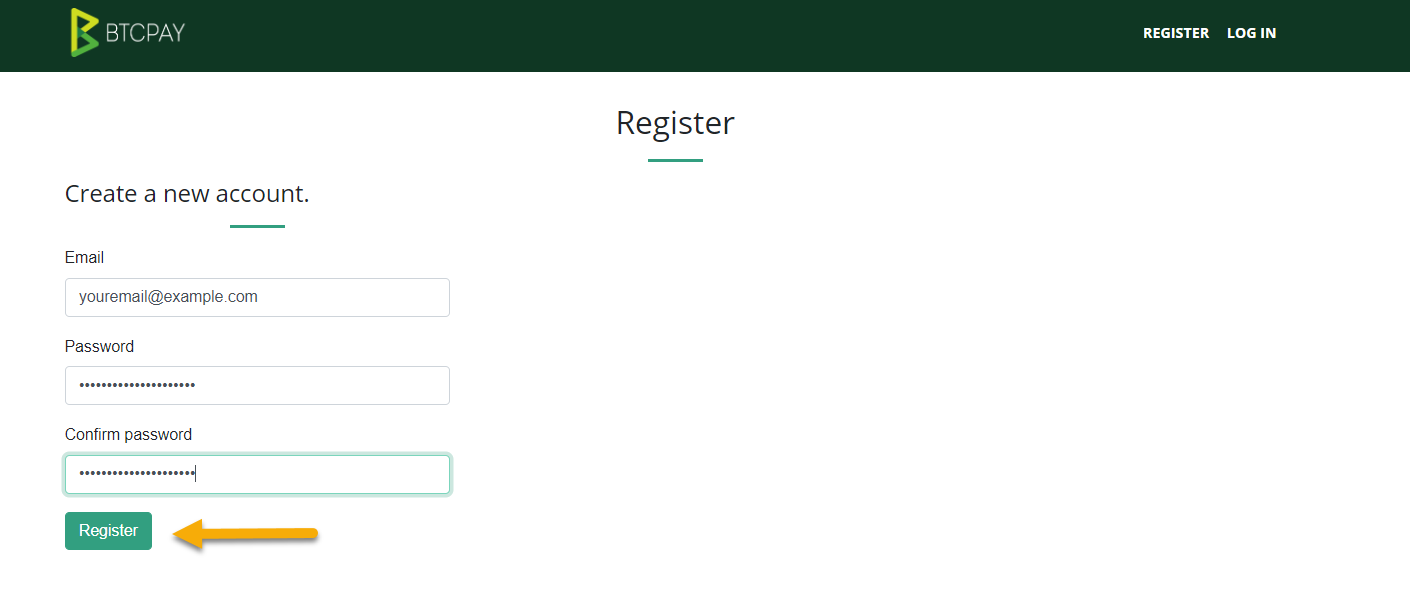
Register an account on BTCPay Server by clicking the "Register" link in the top menu. Enter your credentials. Some hosts may require that you verify e-mail upon registration. For the self-hosted server, the first registered user is a server admin.
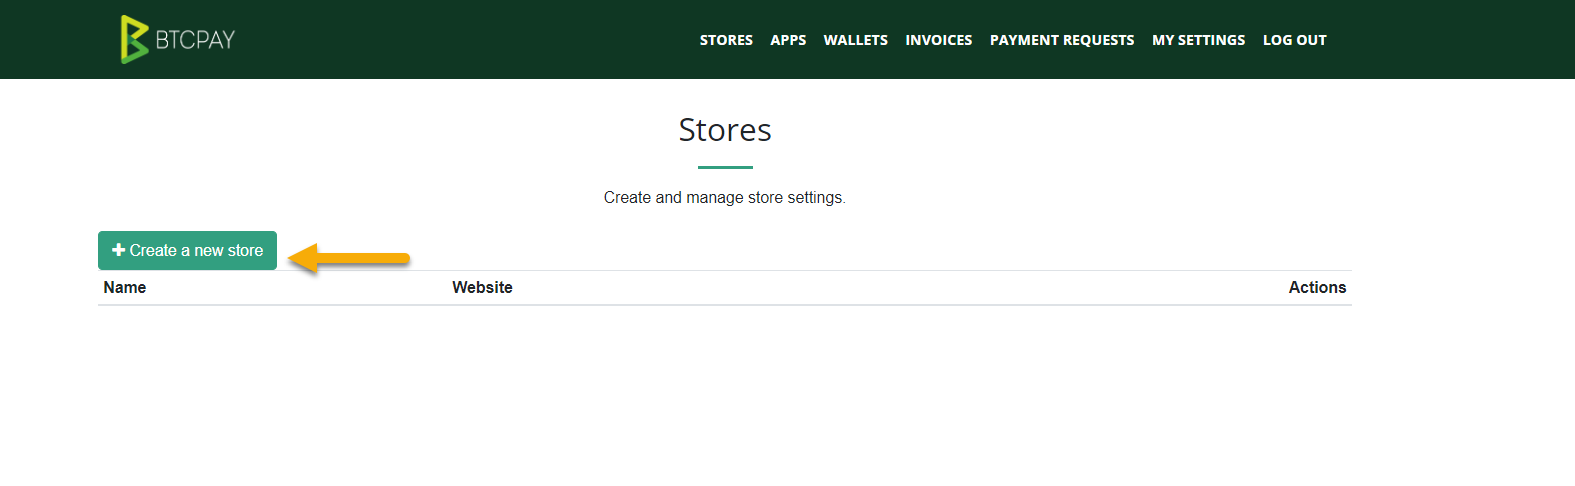
# 2.2 - Creating a store
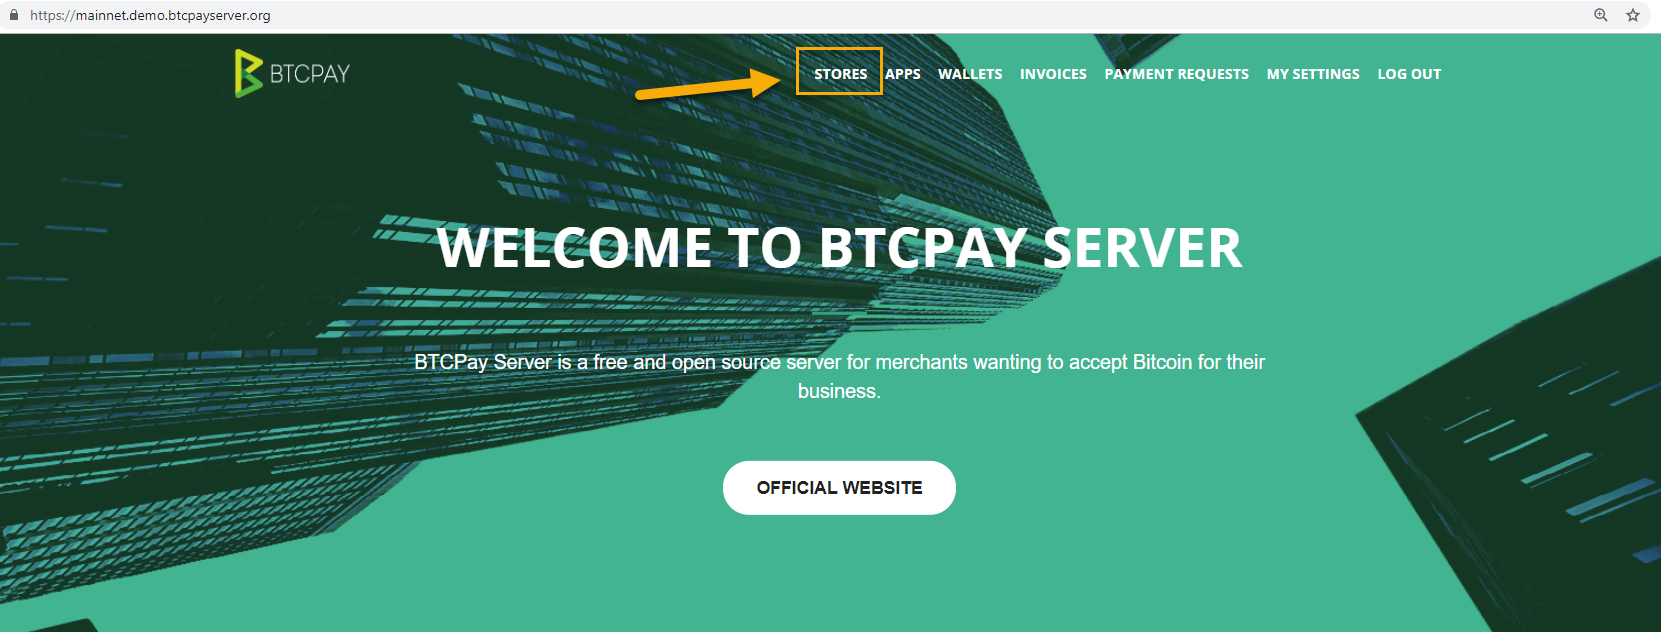
Now that you're logged in, create a store. In BTCPay you can create an unlimited amount of stores. Each stores is unique entity and can be customized. The store is later tied to your wallet and whatever app you're creating.
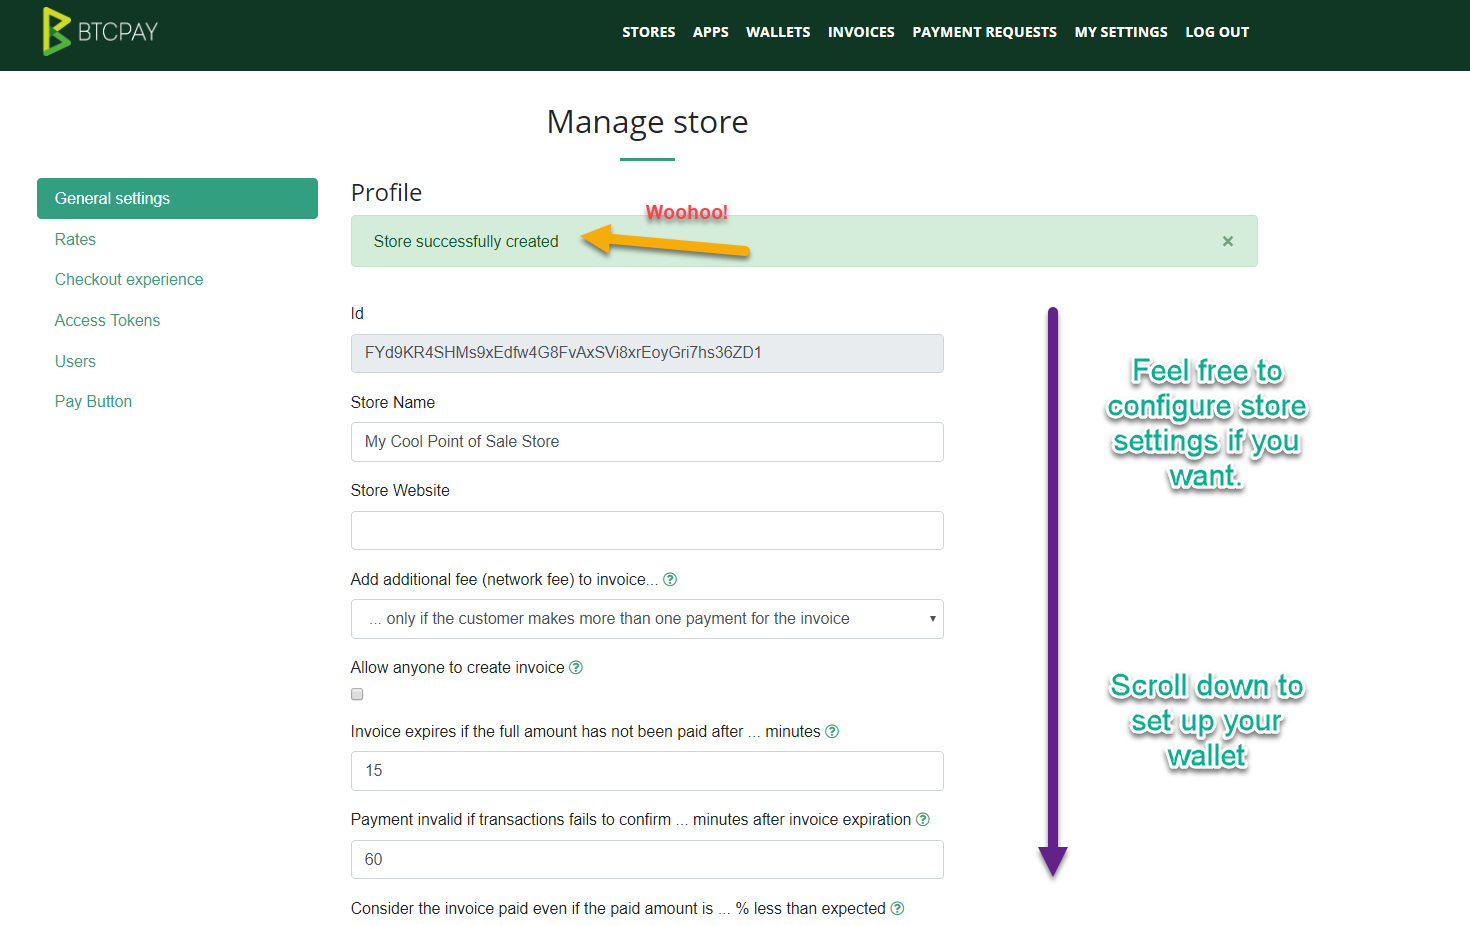
Create a new store and give it a name. You'll see the message that the store is successfully created. If you wish, you can configure your store settings. For most people, the default setup is okay. Do not navigate away from the store settings, scroll down to configure your wallet.
Create a store and give it a name:
Store successfully created. If you wish you can customize basic settings, or just scroll down to connect your wallet:
# 2.3 - Connecting a wallet
As I already said, the beauty of using BTCPay is that there will be no fees on transaction, registration or membership. Furthermore, BTCPay does not require your private key. You're just adding an xpub key from your wallet.
- BTCPay does not know nor has access to your private key
- You're uploading xpubkey from external Bitcoin wallet - Electrum for example
There are two ways in which you can connect your BTCPay to your wallet:
- Automatic with Ledger Nano
- Manual with any wallet supporting xpub (Electrum (opens new window) recommended)
Input your xpub, then on the second screen, if you see a wrong address, input the first address of your wallet so that BTCPay can help you to configure correctly.
The video below explains how to connect your wallet to your BTCPay store.
If your BTCPay is self-hosted, you can enable Lightning Network payments (opens new window).
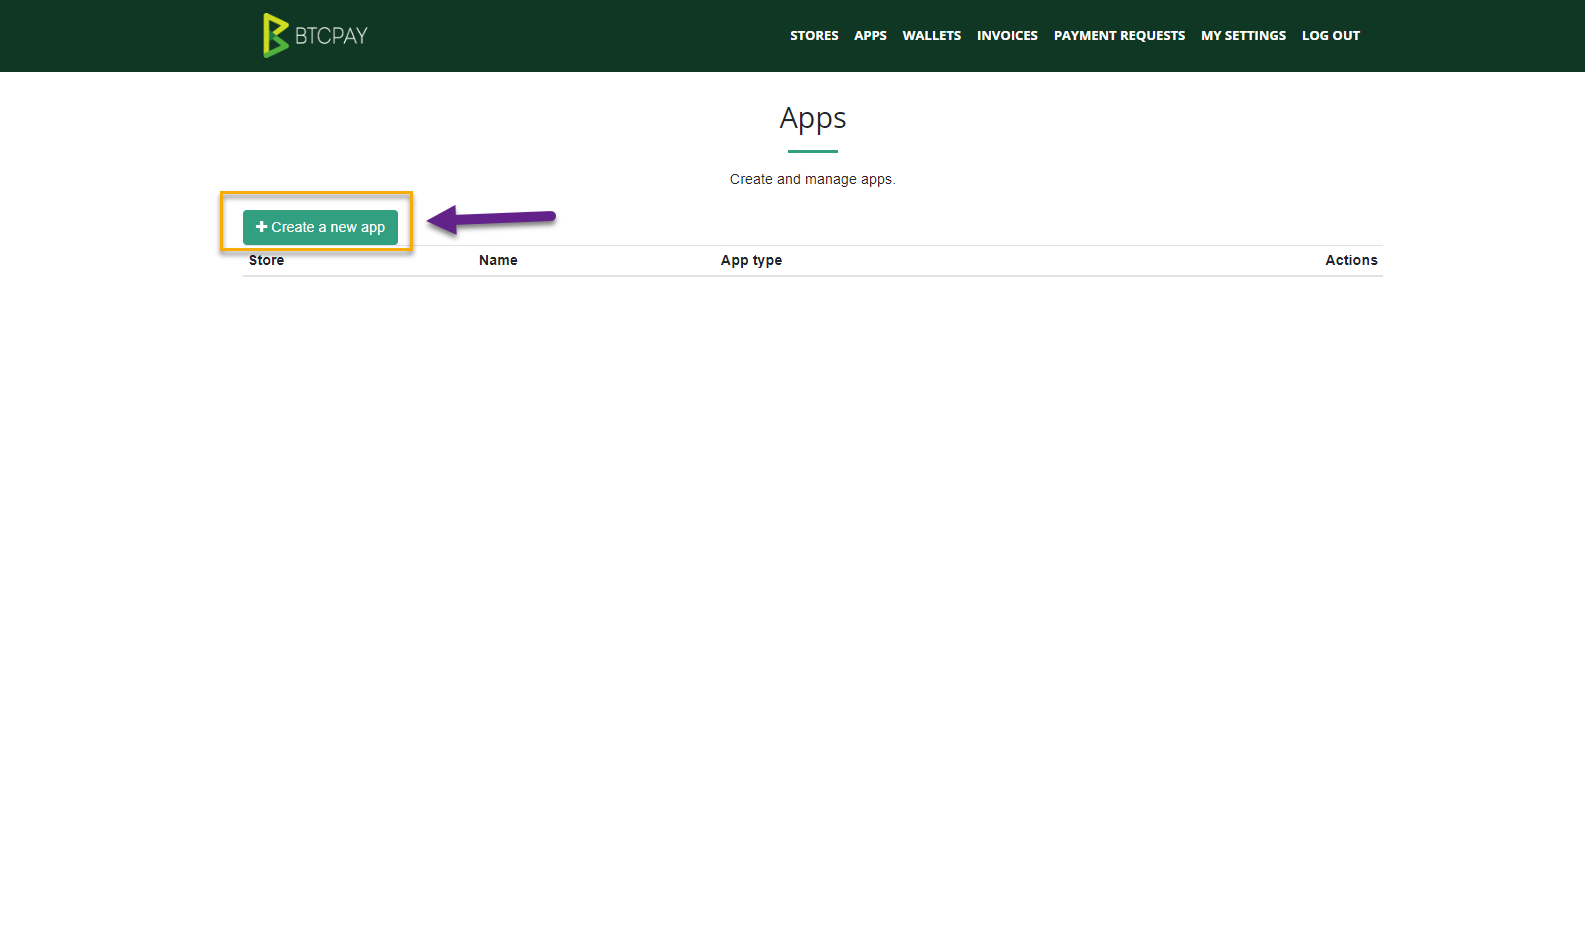
# Step 3 - Creating Point of Sale app
Once you created a store and connected a wallet to it, the fun part begins. In this step, we'll be creating a Point of Sale web-app.
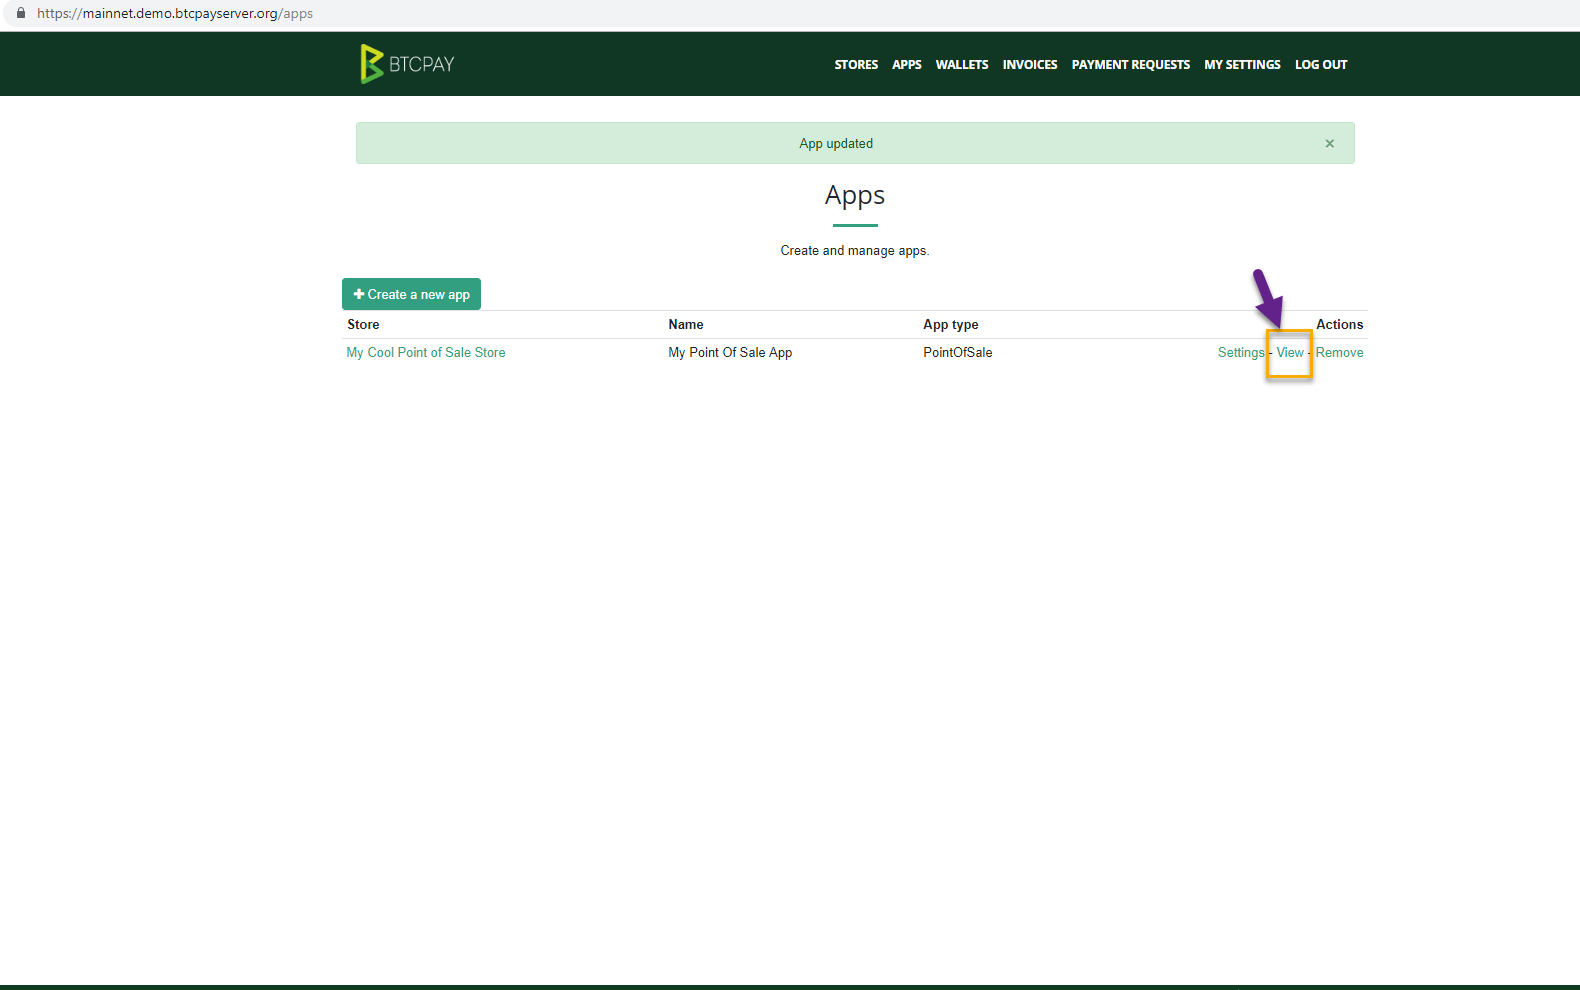
- Go to > Apps
- Create a new App
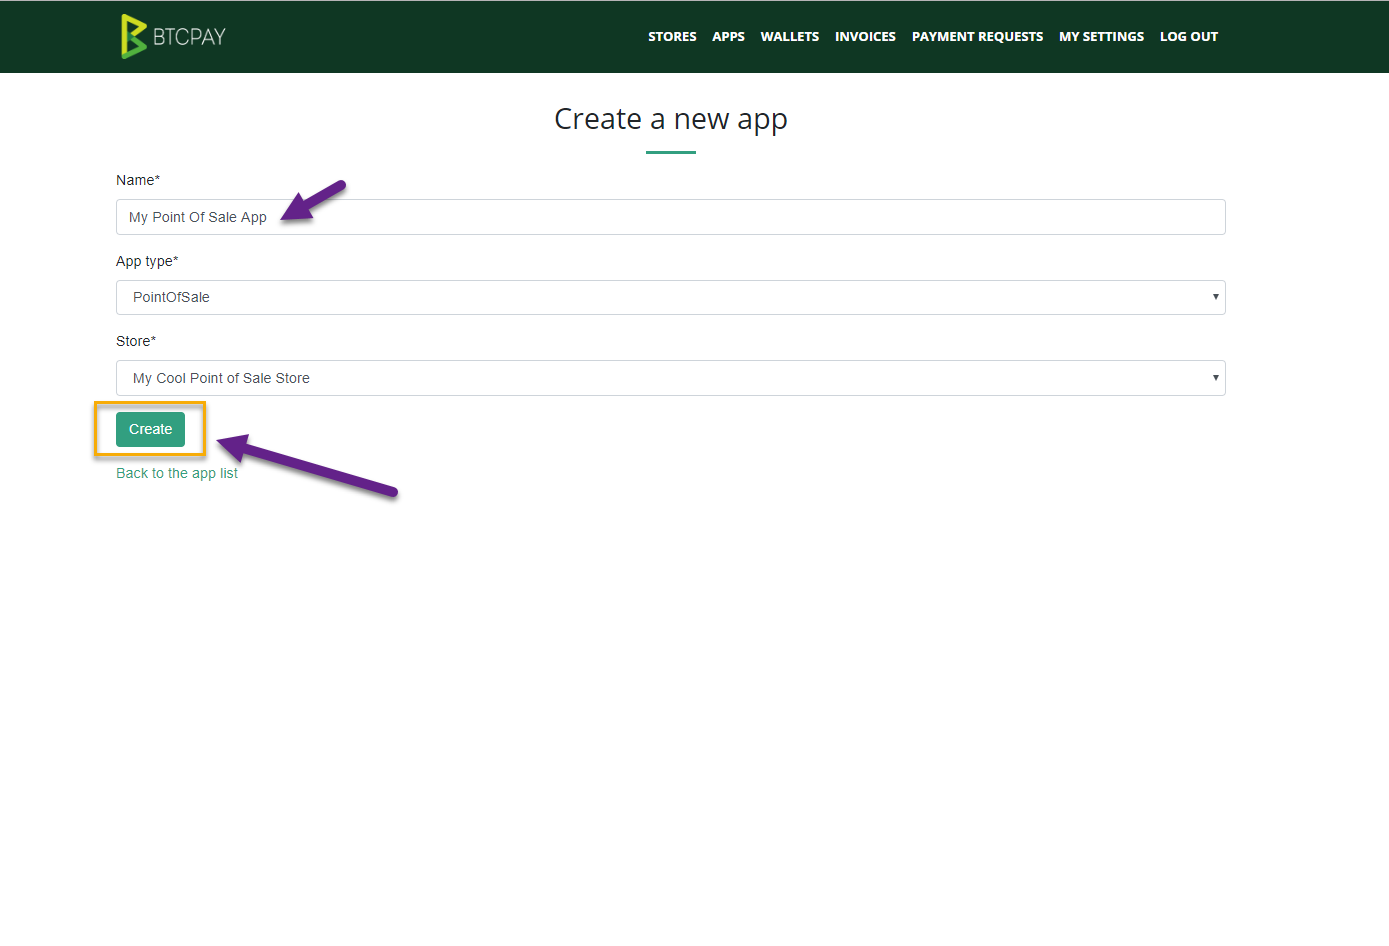
- Add the name of your app and associate it with a store you created earlier
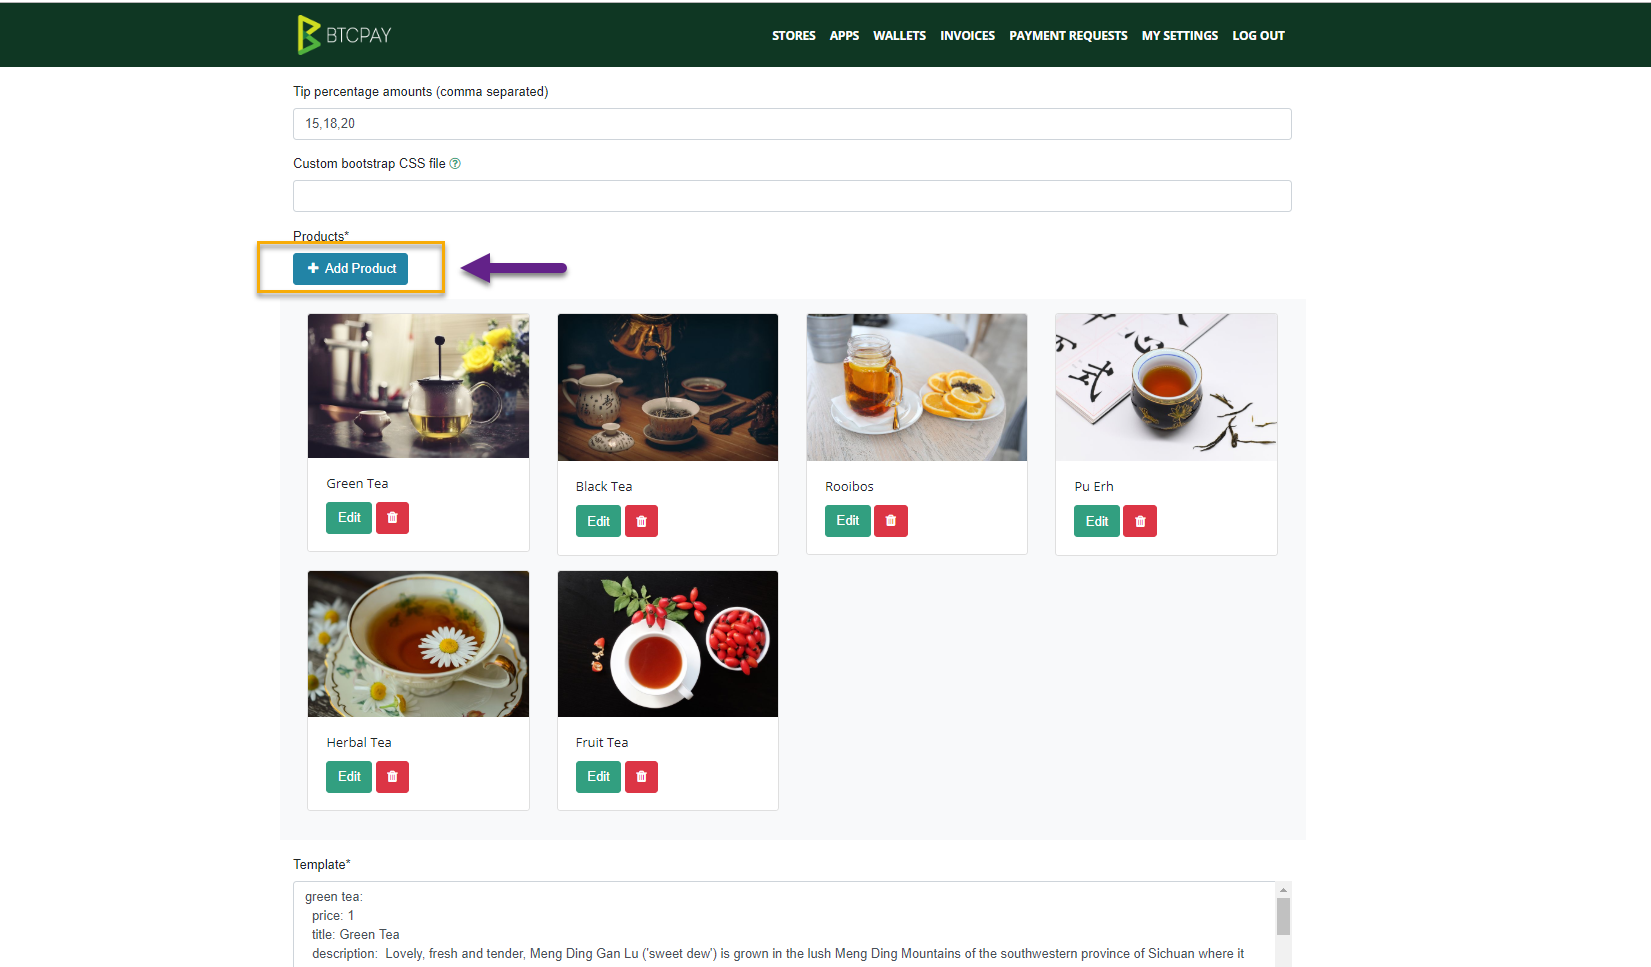
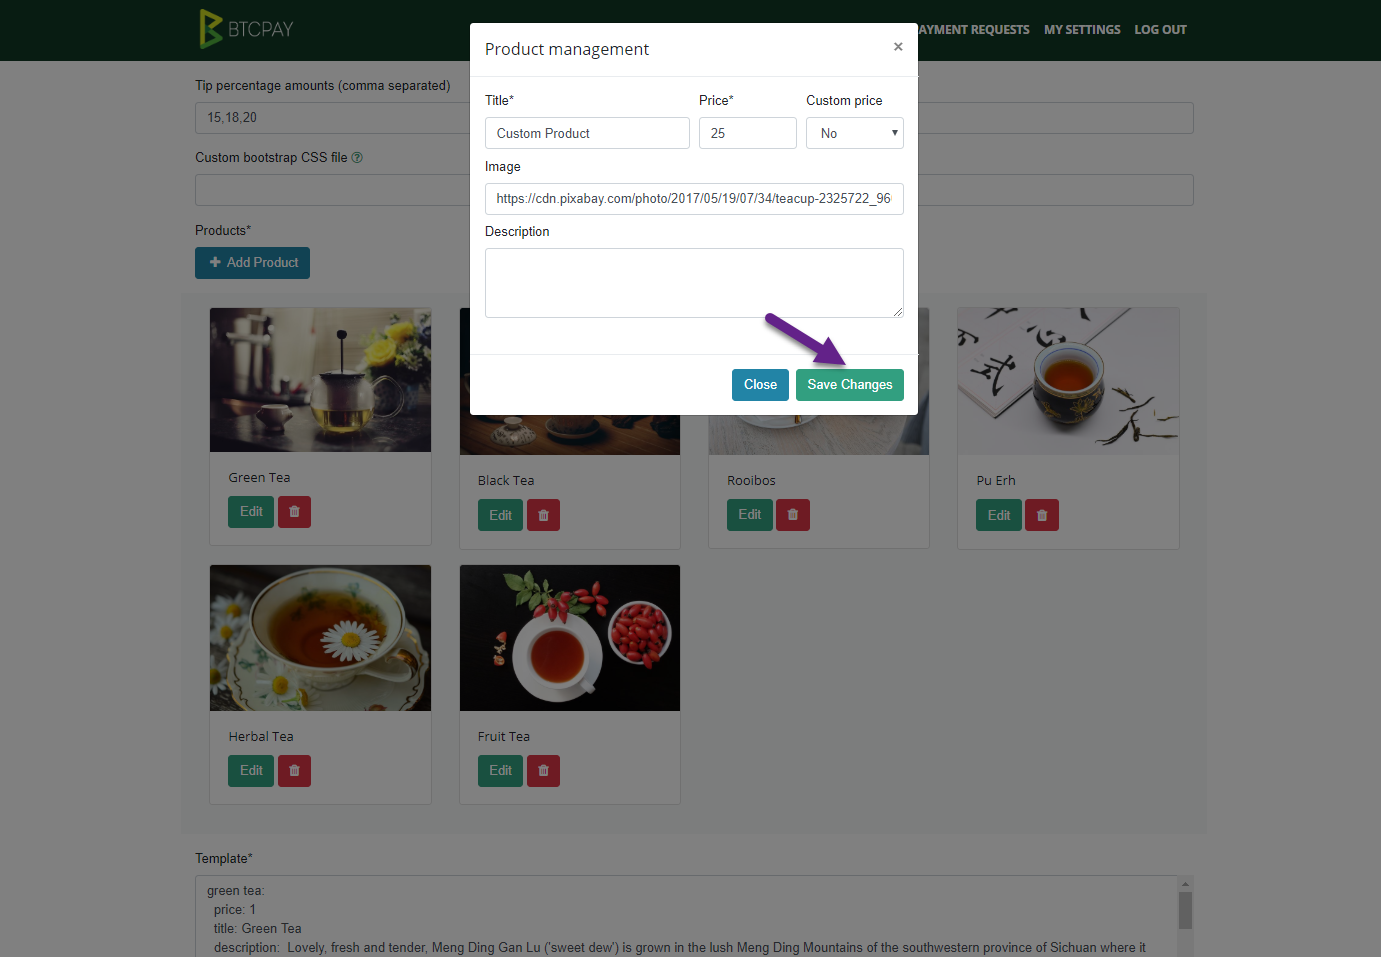
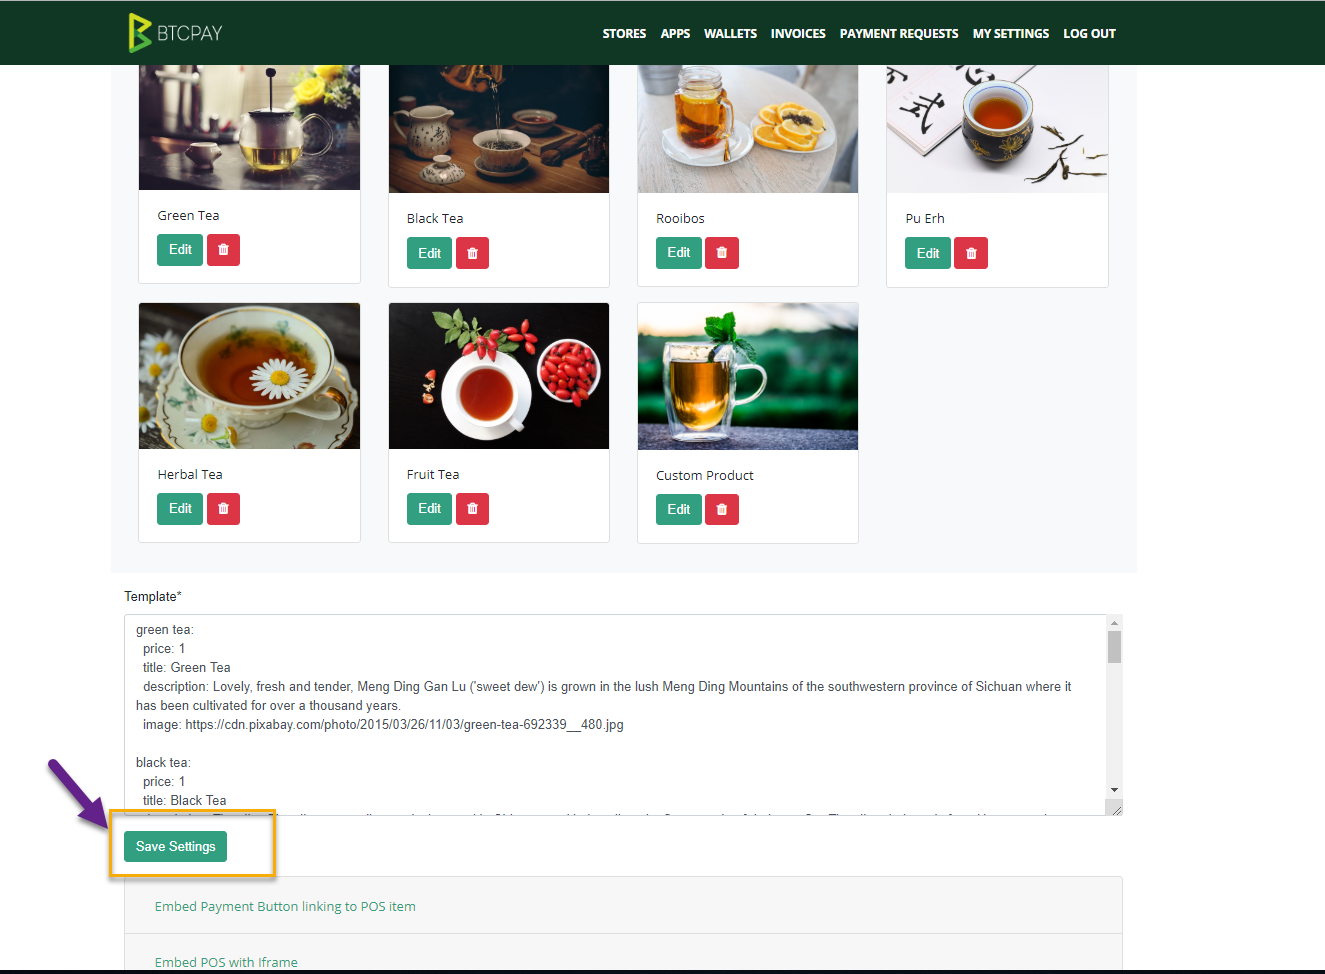
- Customize your PoS by adding your own items with prices, photos, and a description.
- Click "Submit query".
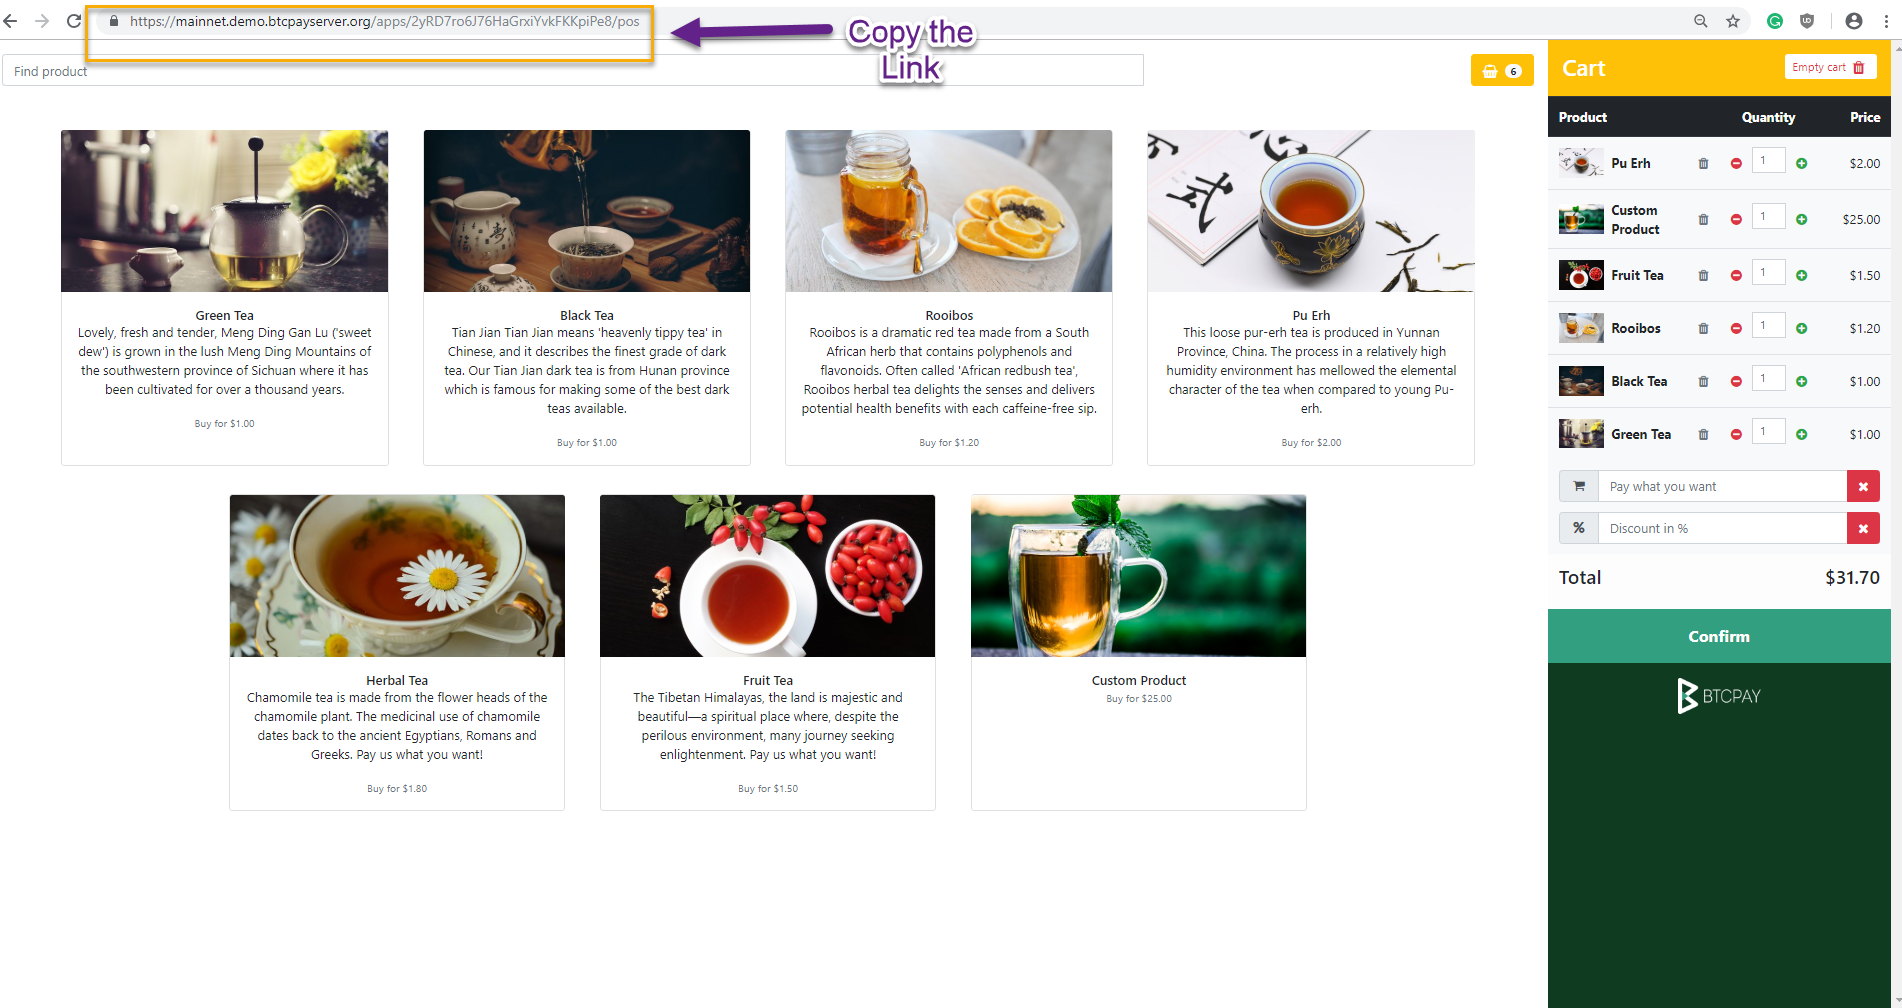
- Click "View" to preview your app (Your customers can access the PoS through that link).
When creating a PoS app, it is essential that you enable cart option.
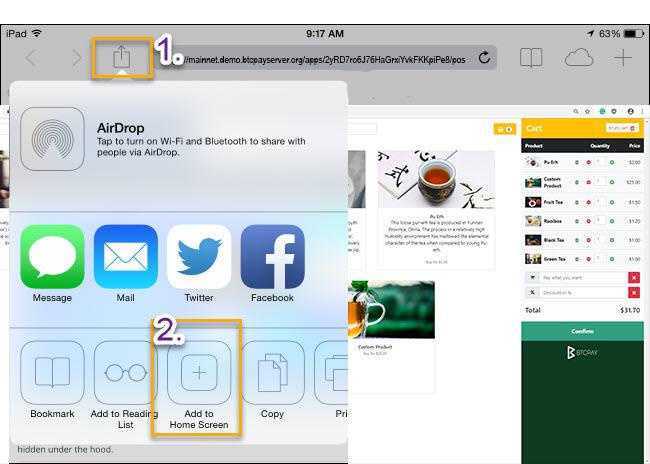
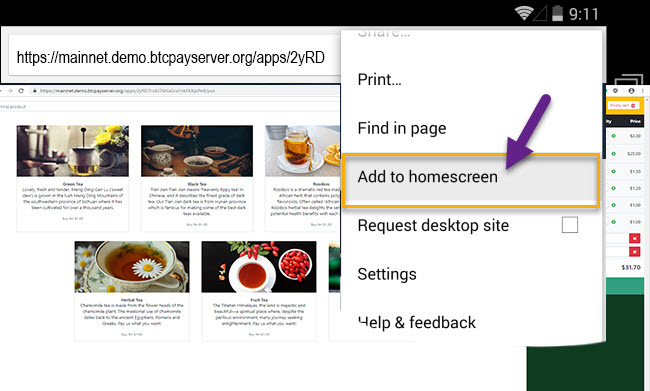
# Step 4 - Adding link as a desktop shortcut
Now that the PoS is created, the last step is to add it to the home screen. This allows you to quickly access your app.
You can further customize the checkout (opens new window) or change the theme of the PoS (opens new window).
Add PoS to homescreen iOS:
Add PoS to homescreen Android:
# Don't buy Bitcoin - earn it
There you have it. I really hope that this quick tutorial enabled you to create a Point Of Sale app and accept Bitcoin in your store or online. Payments go directly to your wallet with no fees and if you self-host BTCPay, you're increasing privacy (opens new window) and security for yourself and customers by running a full node (opens new window).
If require more information, please refer to our extensive documentation. For questions, visit our community chat (opens new window).